How to create NSFW 3D models from an image
Choose a reference, compare three model views and decide what to change before downloading or printing.
To create a custom NSFW 3D model with ThreeDee Nova, start with a reference image, generate the model and inspect it from several angles. Then decide what needs changing before downloading it or preparing a physical print.
NSFW means “not safe for work” or “not suitable for work.” This guide explains the image-to-model workflow using a non-explicit character from ThreeDee's NSFW collection. The reference and model views below show what to compare when judging your own result.
Start with a free NSFW model or make a custom one
If an existing design suits your project, browse the free NSFW 3D model collection and check that model's preview and download options. If you want a different character, pose or outfit, a reference image gives you a starting point for a custom model.
A free collection model and a new generation are separate things. Check the app's current generation requirements before starting a new job. Free downloads do not establish that custom generation is free.
1. Choose a reference for your NSFW 3D model
A portrait gives you information about the face, hair and shoulders. It gives you much less information about the rest of the body. If you want a full figure, choose a reference that shows the full figure.
The floral character below illustrates that difference. Its face, hairstyle, earrings and clothing are visible, while the image ends at the upper body. It is a useful reference for discussing a bust. It does not specify a complete standing pose.
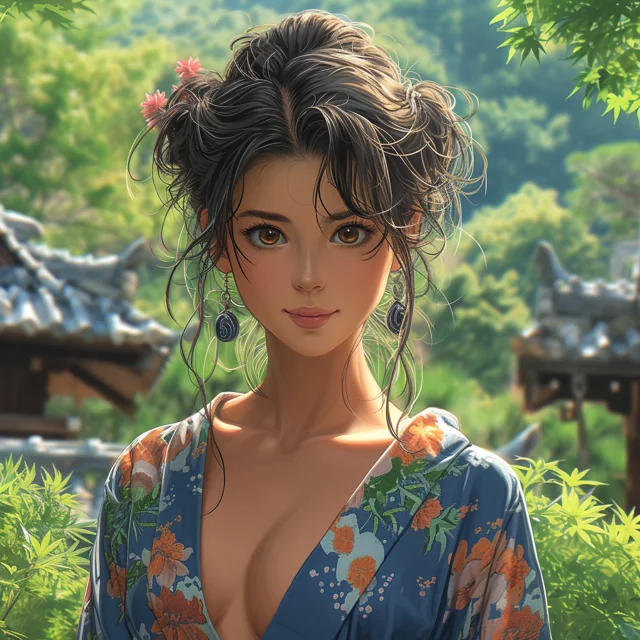
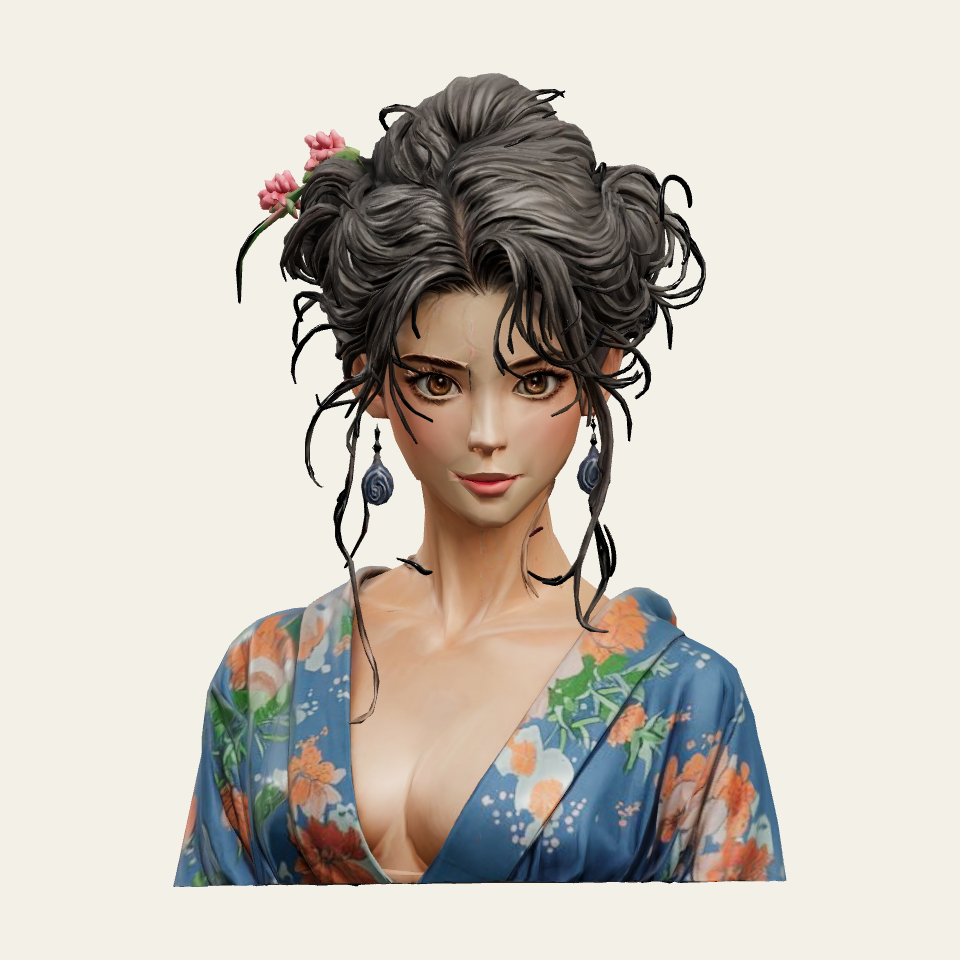
These are an existing ThreeDee collection reference and views of its associated 3D file. Look at how the hairstyle and clothing read as a shape, then compare the details that matter to you.
Pick the details you want to preserve
Choose two or three features you want to preserve. For this character, that might be the outline of the hairstyle, the flower ornaments and the shape of the collar.
Keep the brief specific. “Keep the flower ornaments visible above the ear” is easier to assess than “make it highly detailed.” A clear target also helps you decide whether a new attempt or a manual edit would be worthwhile.
Use a reference with a readable subject and enough contrast to follow its outline. Check whether hair, hands or accessories hide an important feature. Start with an image you created or have permission to use.
2. Generate the model from your image
Use the generation route on the NSFW 3D Prints page, upload your reference image and generate the model in Nova. Keep the reference available beside the result so you can compare the framing, pose and features.
Start with the whole character. Check the silhouette, proportions and intended framing before inspecting small details. If the main shape does not fit your brief, a more detailed texture will not resolve that difference.
Then compare the features you wrote down. If the reference did not show one clearly, improve the reference before trying again. If it was clear but the model still needs a specific correction, consider editing that part of the model.
3. Inspect the NSFW model in the 3D preview
A front image does not document the back of a hairstyle or the depth of an accessory. Rotate the model and inspect those areas before accepting the result.
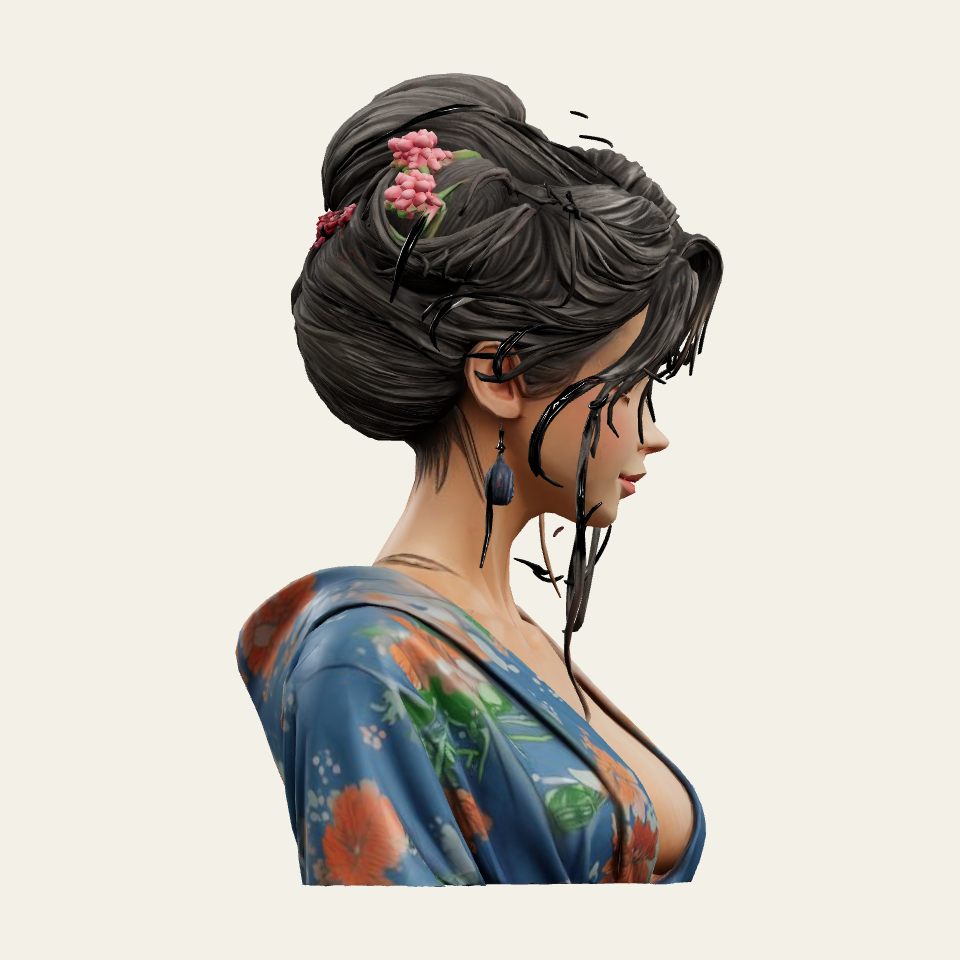
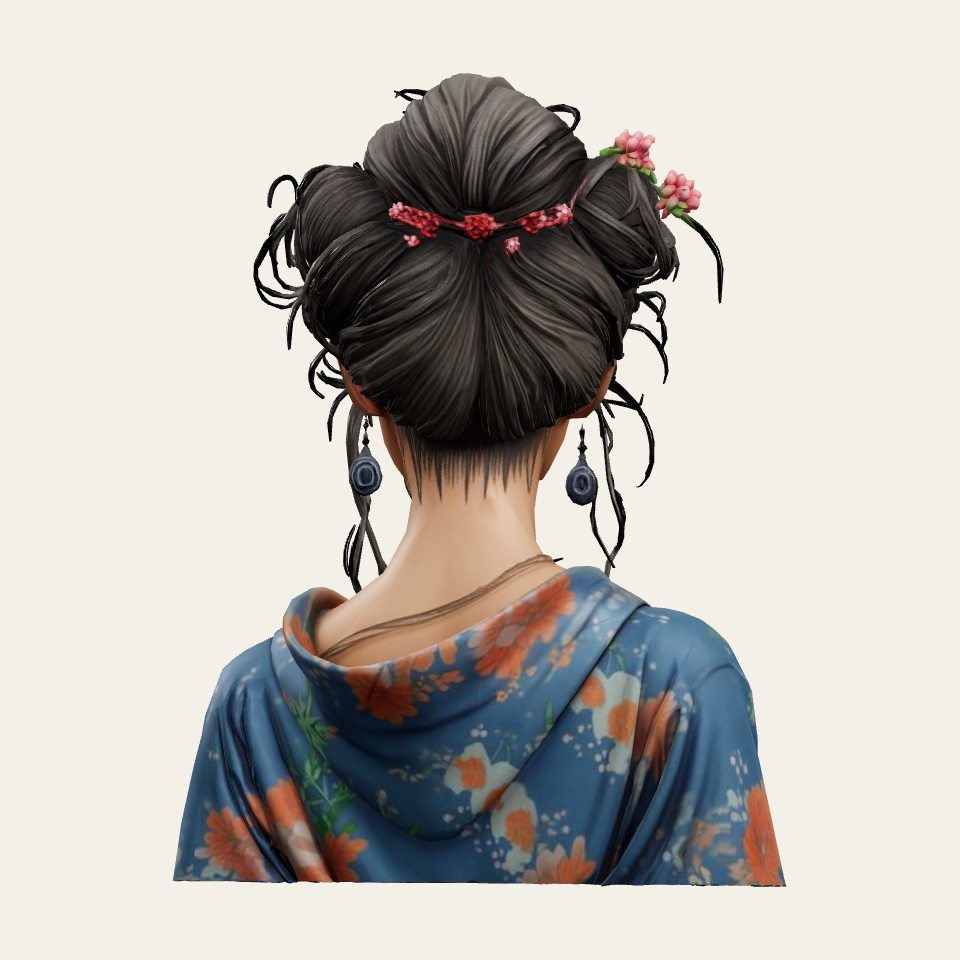
In this model, the loose hair strands and hanging earrings deserve a closer look. They contribute to the appearance, but their suitability for a physical print depends on their geometry, the intended size and the printing process.
| Decision | What to inspect |
|---|---|
| Keep the current result | The main shape and important features fit your brief from several angles. |
| Improve the reference | A necessary feature is cropped out, hidden or hard to distinguish. |
| Edit the model | The overall result works, but a particular feature needs correction. |
| Prepare for printing | You have accepted the appearance and can assess dimensions, geometry and supports for the intended print. |
4. Check the download and prepare for its intended use
Once you are happy with the appearance, check the model's available download formats. The collection describes GLB downloads and conversion to STL. Converting a file does not repair its geometry or establish that it will print successfully.
For a physical print, choose the intended dimensions and inspect thin parts, connections and support requirements in your printing workflow. Fine details that look convincing on screen may need adjustment for the size and printing process you choose.
An attractive preview helps you judge appearance. Printing preparation is a separate step. Keep the reference, original download and any edited versions together so that changes are easy to compare.
Start with one reference and three details that matter most. Generate the model, compare it from several sides and decide what to keep or change. If you want to practise those checks first, open an existing model in the collection before creating your own.